Followers

Thursday 22 August 2013

Clarity Take 2

This is a post of all the cards I did for Clarity Take 2 with Maria Simms on Wednesday 21st August

The new stamps are lovely and the stencils are absolutely fabulous!

First the snow men and the music and I did use the smallest tree in the background

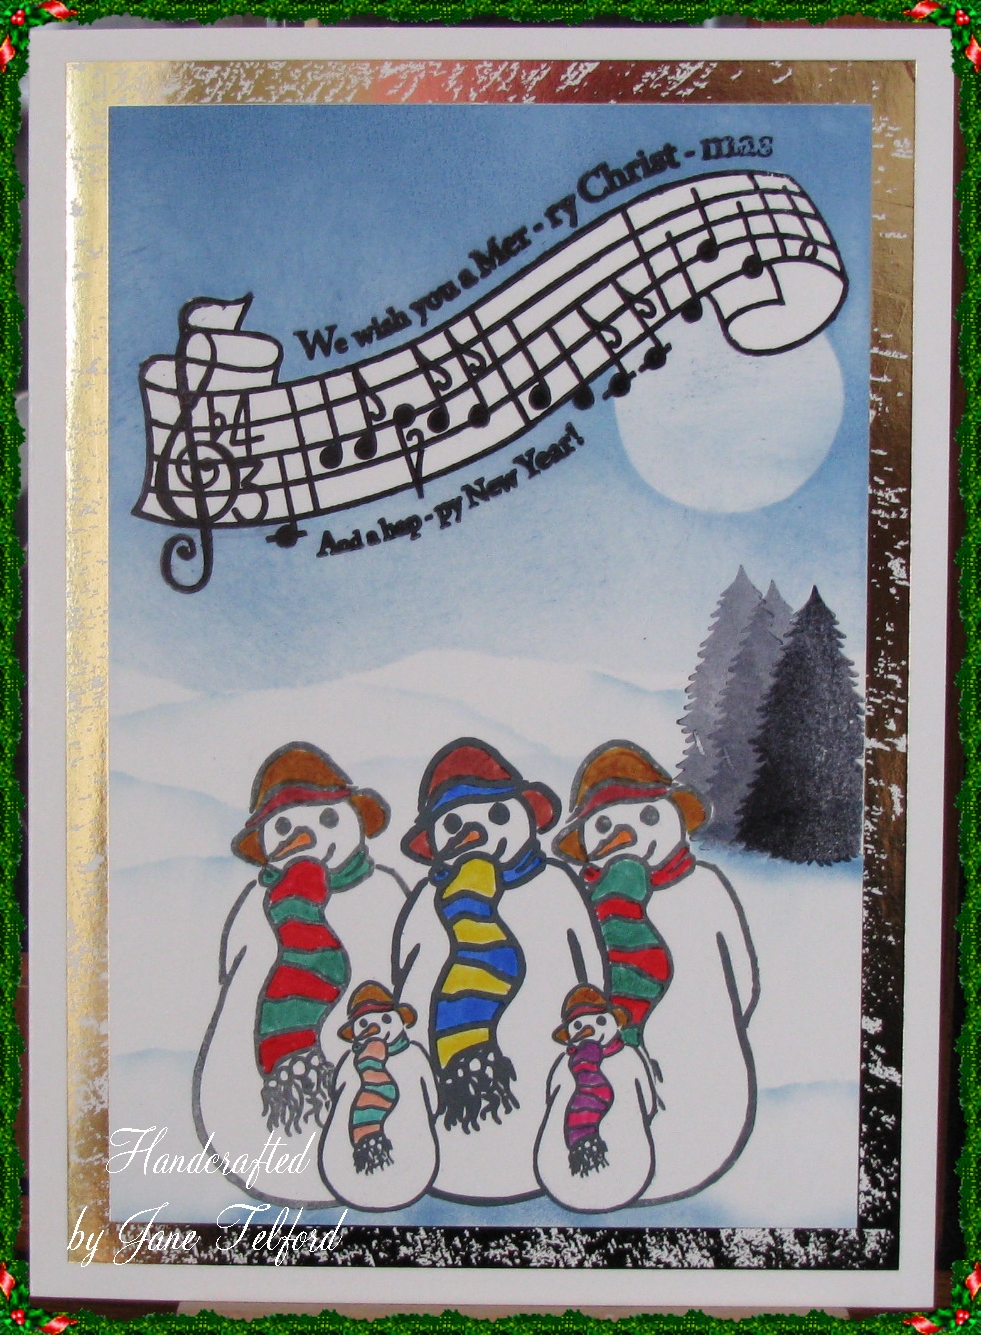
This took lots of masking and I did this onto a card with a foiled border which I then distressed slightly.


Next I did another card using the snowmen but wanted to get away from tradition so I went for bright and colourful using distress stain splats...very fun to do but very messy!! The snowmen were all stamped and individually cut out and the little ones used as bunting! The letterbox kit came into its own again. Here is a picture of the small snowmen bunting and as you can see I have glittered them slightly.


After these I did the trees set! I had a gelli plate background which used the  leafy swirl and dots stencil. I silver embossed the  large tree into place and the stars. I then did a group of the trees in silver in the opposite corner to the large tree. The large tree I coloured with promarkers and then I inked over the whole surface with blue and green distress ink. The sentiment is made out of the letterbox kit and shrink plastic. Some bakers twine and a small metal embellishment completed the card which was mounted onto blue cordinations paper which had been distressed.
The shrink plastic letterbox sentiment took me several goes to get a good enough one to put on my card. It was the word Christmas that caused me the problems! It kept looking like a pork scratching!!!

After this I decided to do an sepia card using the tress but I didn't want the presents on the bottom so I masked them off before I inked the stamp! I used brown distress ink on the watercolour card. I then used the tree trunk and the pine ridge stamp, log cabin and small tree stamp to create a scene. I added colour using distress inks and also the very edge of the tree to add tufts of grass. Once I was happy with it I mounted it onto gold then distressed cordinations card and then paper pieced the main tree I completed the card with a piece of ribbon a bow and some die cuts. 
The next cards were done a bit later as the stencils were sent out after the stamps.
The first ones used the new doves stencil one done on the gelli plate the other put through the grand calibur and then brushed with pan pastels.


 I think these show the versitility of the stencils and they really are lovely to work with!

The next card used the clouds stencil which I put through the grand Calibur and then brushed with really pale colours of pan pastels. I used the window and the dove stamps on this to create the picture and added a diecut and flowers to finish it off!!


The final card I did using the clouds stencil but then in the aperture I used the jigsaw stamp set that is the next classroom stamps and the snowmen  stamps. I also used the repositional set that was with the window stamp on the show to complete the scene on the jigsaw. I also stamped the snow flakes all over the finished topper and added a sentiment!


I hope you have enjoyed looking and I would love some feedback on my cards.


Have a nice day and happy crafting!

Jane xx


Wednesday 14 August 2013

A bit more clarity!

Well good morning to you!
I had a lie in today and feel so much better for it!

Today I am going to put together the mannequin I have been working on and yes there will be photos!

In the meantime here are the final 2 cards from the last clarity weekend.

These both used the in the bleak mid winter set of the trees and the music score that goes with the trees.

The first one used the middle sized tree stamped in green to create the wreath.

I then stamped and embossed in gold the music and then used ink dusters around the edge of the card before mounting onto gold then red card stock.

This was mounted onto a blank card and finished with 4 red gems in the corners.

The next one I made with this card used the trees stamped and embossed in white glittery embossing powder to make it look like a snowflake.

I mounted this onto silver card stock.

I then randomly stamped the 8 x 8 blank card in purple versafine ink using the music stamp before mounting the topper in the centre.

It was finished with 'dew drops' in each corner.

I hope you have enjoyed looking at my projects.

Please feel free to leave me a comment.

Have a good day what ever you are doing

Happy Crafting

Jane xx

Monday 12 August 2013

Hope!

Well Good Morning to you.
Three more of the cards from last weekends clarity show for you today.
These all used the set with the Hope Frame and the remountable celtic stamps that go with it.

The first one I did used the dylusions sprays. I used blue, purple and yellow but I didn't like that so much so I gave it a quick squirt of black and it toned it down enough. I let this dry then I stamped the Hope and the celtic knot in versamark and then used silver embossing powder. I stamped the Celtic Heart and Swirl in opposite corners and then the small words in the other corners. These again were silver embossed. The whole thing was then mounted onto silver card and onto a purple card blank. Some bakers twine in purple finished it off.

The next Card I did used double sided adhesive sheets and I stamped the hope on to one side of the sticky sheet and then attached a piece of acetate. I stamped the celtic knot on to a piece of theuva card and coloured in parts of it to make it stand out I cut it out. I took the protective paper off the hope word and attached the knot so it could be seen through the O. I then used Variegated Copper gilding flakes over the rest of the sticky paper.
I put and piece of green/bronze paper through the grand calibur with the Trellis stencil. I had to cut the edges down to do this. I mounted this onto a card blank and attached the topper. Two wooden flowers coloured with my gold marker finished this off!

I was going to leave it at that for this set but as I was looking for paper for another card I found a gelli plate background that I wanted to use.
Some time ago I did a class with Maria Simms where we used the balloon stamp to make flowers so LIGHT BULB MOMENT...I can make flowers using the celtic heart and a butterfly. I stamped the hearts onto some paper which I found in my stash and toned with the background I had. I also used two different colours of versafine ink agian tio tone in with the paper and background. I attached the background to an 8 x 8 card and then attached the flowers and butterfly I had made. I row of pearls made the butterfly body and I stamped the word love ramdomly around the background.

I think it looked OK and showed a different use for the stamps.

Thanks for dropping by. I hope you can leave me a comment on what you think of these three cards

Have a good day

Jane xx


Sunday 11 August 2013

Half way!!!

Well I find it quite hard to believe I am half way through my holidays!!! 3 weeks has flown by! Well it does when you are enjoying yourself doesn't it!! I do seem to have been busy though!

This last week Colin and I had our 31st wedding anniversary and we celebrated by going out for a couple of days and by having a lovely meal on Wednesday evening at The Golden Pheasant at Plumley nr Knutsford!
Yesterday I was as the Clarity NW workshop run by Maria Simms...she is so lovley and so talented its untrue! We were using the clever corners and ended up with some fab projects which really highlight what adaptable stamps they are. As usual we all got a stamp to keep and also one of the new clarity stencils. I will be putting that to good use very soon.

Anyway with all the comings and goings this week I realised I have not blogged any of the cards that were shown last weekend on the clarity shows.

These ones are done with the Whilst Shepherds kit!

The first one is an 8 x 8 card. I started off witha piece of centura pearl card and using the reverse of it I sprayed it with the green and blue dylusions ink sprays. I put my card in a large plastic box to to the spraying...the first ever time I used them I got it everywhere. Thankfully I had a wipe clean table cloth on my table at the time....so now by using the box I contain the ink and it can easily be cleaned.
Once the ink had dried I added a little more colour and depth using distress inks and an ink duster and a make up sponge.
I stamped the star in versamark and silver heat embossed it.
The shepherds and sheep were stamped using black versafine ink and the small tree from the bleak mid Winter set. The words were off the music score stamped on their own without the music. The picture was then mounted on to silver then blue card, and then onto an 8 x 8 card blank. I coloured some card candy to match the blue to finish the card.

The next card was a really simple design. Using a DL card blank I masked off a section about an inch (2.5 cm)  wide. Make sure your masking tape is really low tack!  I then used the music stamp to stamp over this space in cranberry adirondack. You could change the colour here if you wish.
Using a make up sponge I dragged some colour from each edge being careful to leave the centre of the space lighter. Carefully remove the masking tape and you should have a crisp border. I then stamped the shepherds and sheep into position then found the sentiment at Christmas in the Remountable Christmas Decorations Clear Stamp Set which was the perfect size for the space I had.

Right I am off to get a bit crafty...Hope you are having a good weekend

Happy Crafting

Jane xx
 

Thursday 1 August 2013

Animal Magnetism!

Good Morning to you!
Didn't we have a well suited challenge last month!! As we all created our Seaside projects the country was bathed in glorious sunshine and scorching heat!!! What a shame it can't be like that now the school holidays are here. Typical!

The Projects for the challenge have been fantastic as ever and it is amazing to see how everyone can come up with such different ideas with stamps and even when they have had to improvise they have still kept to the theme!

So it is now a new month and therefore the start of a new challenge...and this month we are having the theme of .....ANIMALS.

There are some stunning projects over at Clarity Stamp Challenge Blog to bring you inspiration and all very different I hope you can take the time to pop over to look and hop to the different blogs of the DT to see their projects in more detail!

Here is the one I have done for this months challenge.


This started off as a plain papier mache box which I painted with gesso and then 2 coats of cream acrylic paint. I prefer cream to white as it gives a warmer look to the background but without distorting the colours used for the images. Then I left it to dry completely.
Whilst it was drying I got the next stage done which is to stamp the images onto mansize tissues. I chose the diamond horse. I like this image as it has a lovely tail. I used 8 different colours of versafine inks- smokey grey, onyx black, crimson red, satin red, toffee, vintage sepia, imperial purple and habenero. 


These were allowed to dry then cut out as close to the image as possible  this took a bit of doing but well worth doing carefully and properly. The tissue images need then to be separated to just the one ply. Only the top layer is required.
Once this had been done and the box was ready to decorate. To attach the tissue horses to the box I used Slap-it-on form Indigo blu. This acts as a glue and thenm as a glaze to the surface. You need a nice soft brush to apply a thin layer of slap it on then attach the image then gently brush over the surface with slap it on. I made sure that I mixed up the colours of the horses and covered the box and lid inside and out. You need to allow time to do this to dry in between parts and remember to wrap the images around corners and edges to give a seamless finish. You can see that you need to overlap the images and you get lovely depths of colours that way. Once completely covered it need to dry properly and then be coated all over again a couple of times with slap it on. This dries to a matt finish which again allows the colours to come through. I then used a water soluble matt varnish all over it to add another layer of protection.
 
 
I was going to leave it at that but to me it did not look finished. I then came up with the idea of having miniature horses dancing around the top so stamped the image onto shrink plastic in black stazon. These I attached to the lid with some strong clear gel glue. However I wasn't happy about how this now looked as you could see the glue. I needed something to hide it....BRAINWAVE....I need something that will look like grass so I got the flowersoft out and a bit cosmic shimmer glue and Voila!!!
 
 
I hope you have enjoyed looking at my project.
Please feel free to leave any comments and don't forget to pop over to the other Design Teams blogs
Then its over to you to have a go and remember there is a voucher for £50 to be won by someone to spend at the Claritystamp website.

Happy Crafting

Jane xx