Followers

Wednesday 28 June 2017

Water and Bubbles ......On Parchment?

Good Afternoon all and welcome!
I really should blog more I know but I really don't seem to find the time. How I ever fit work in is beyond me entirely.
Anyway I thought that I would take the opportunity to blog how I made the bubbles on the sample that Maria used in one of her recent shows.
In her demo Maria didn't do the bubbles on the top part but said that if people wanted to know how I had done them then to ask me to blog it. A few people have asked me so here it is!


I started off by embossing the full water element image from the groovi plate. Then added the circle but only adding it part way to meet up with the dolphin and whale.


I then used the smallest two circles on the nested circle plate to make the bubbles in the empty space


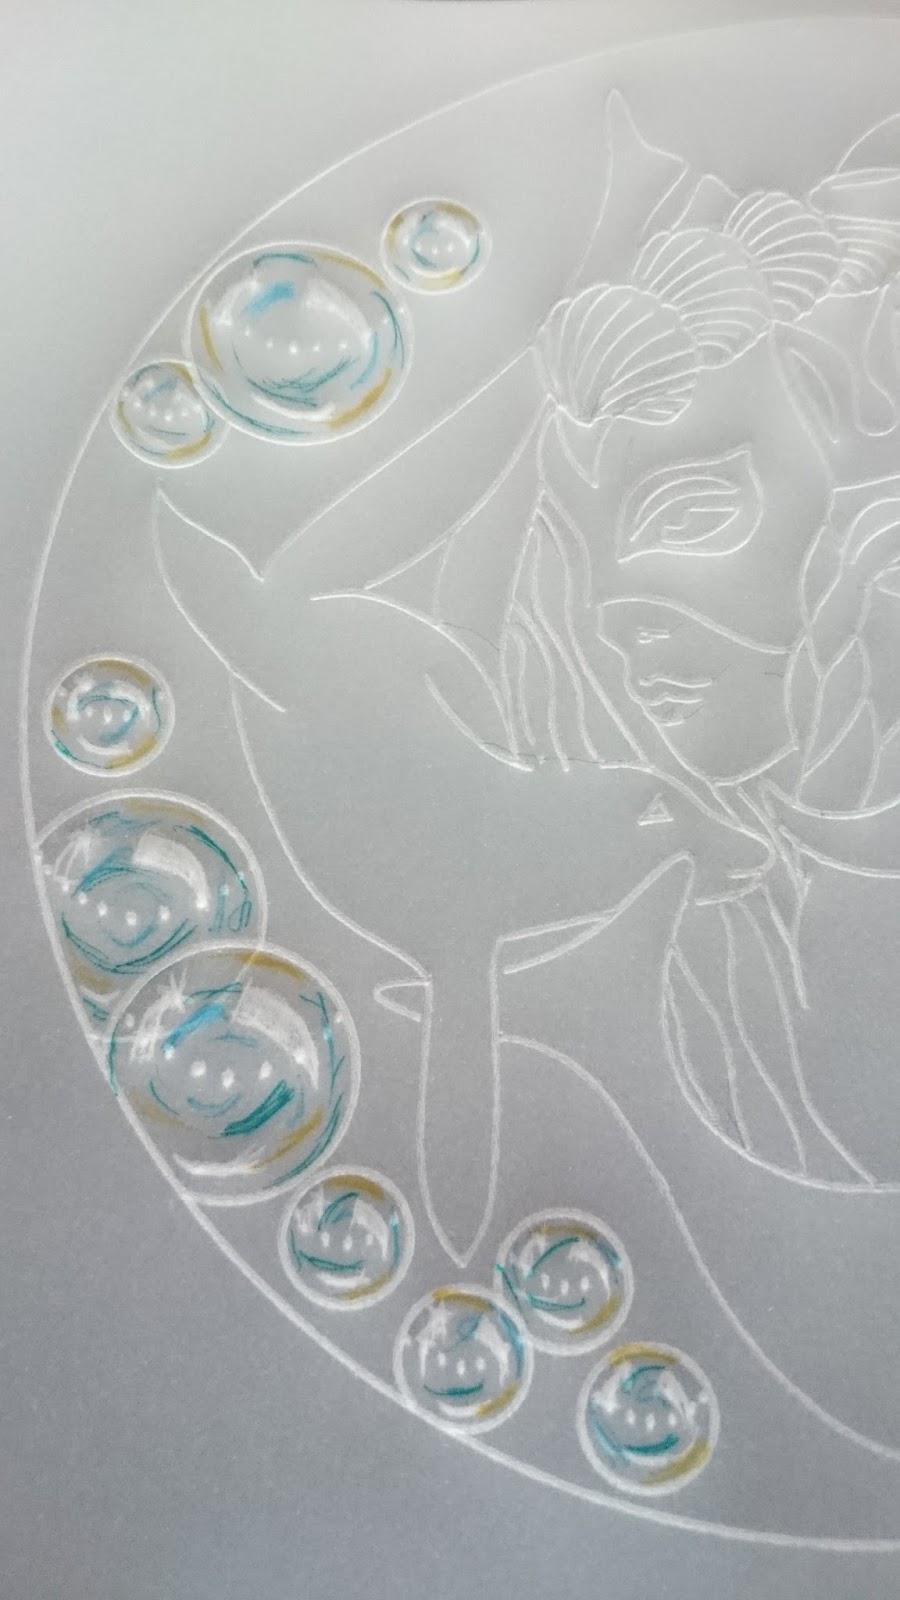
I could have just coloured them like I did on the bottom layer of the card but I wanted them to look more like 3D bubbles.
I loved how Amanda Branston does her bubbles and I had a go myself on card but I wondered if I could transfer that to parchment. Well on card you use white to get the first circle....already white on parchment. Real bubbles have reflections in them where they pick up light and reflect colours that are around them. The white areas will be done with some freehand white work and colours added using distress markers using colours I will use in the main image.

First the white work. I think what makes it look real are the little dots 

Back
Front


Now on the reverse add some colour. I used the fine tip end of the pens

back
Front

 Now to colour the rest of the image and add a little white work
Front once coloured


Close up of the bubbles


From this I then perforated around the design and then cut away the waste using my ringlock scissors.

The second layer was done by creating a frame with the nested square extension plate (6th and 7th sized square) then adding bubbles to the corners with the nested circle plate the colouring in on the reverse in Watery colours (blues and greens). I perforated around and cut away the waste then used a piece of the northern lights pare to mount it on using brads then onto an 8 x 8 card blank.

So there you have it ....water and bubble really can go on Parchment.

Let me know what you think please.

Happy crafting


Thursday 11 May 2017

Rhyme-time Border! How I made it.

Hello all! 
Wow it's a long time since I came on here! And there was I thinking I would have all the time in the world once I retired ! Hahaha!

Anyway I thought today I would show show how I made the border that went on all the pages in my parchment alphabet book that was recently on Hochanda.
Here is the book and one of the pages.


As you can see I used the letters on the Groovi Nursery Rhyme plates by Claritystamp to create the border all around the page. 

It took me two goes to get it right but I think that I was lucky! I wanted to use the largest undecorated letter to do the border but quickly realised that this was not possible as it would have made a huge border and I didn't want my book that size!

So I started off attaching a piece of A5 parchment to the plate mate and then working on the back of the parchment emboss the largest square on the A5 Nested Squares using the number 1 tool. 


I wanted my border to have all the letters to fit round in a clockwise fashion so because I am working on the back I would have to do the opposite. So I decided to draw a rough plan of the border and work out how the letters would fit around the square.
Here is my plan. 


I kept this on my table as a reminder! 

Next I took the parchment off the plate mate and got the baby plate inset to hold the baby plates steady.

I then followed my plan starting with A in the bottom right hand corner on the reverse.

G in the top corner 

then fitted in the rest of the letters.They needed to be tight to one another so that they all fitted in.


This is what is should look like


 Now In the top left hand corner add the N 


Then refer to your plan to add the letters in between.
I added the H first then the ML and K as these are the biggest letters


You should now have two sides complete.


Next add the T to the final corner.

Follow your plan to add OPQRS (sorry not all my photos worked)


You now have the final letters to add. I added the Z first next to the A
This bottom part is a tight fit so some letters may overlap a bit.


You will now have a complete border of letters
I then brought the nested square back and relocated it on my border. 

I then embossed the fourth square in form the largest making sure I didn't go over the letters
 
You should now have an alphabet border to colour or emboss!


And if you want to do a book you need another 25!!!

Hope this helps those who wanted to know how I did it.

Happy Crafting!