Hello to you all and thank you for dropping in today.
I had a fab day yesterday shopping with Amy. She was after getting her wedding shoes and also a dress for her trip with the girls to Berlin for her girly hen do which she did! I managed to get a bag to match the shoes I have got for the wedding too! So all is good and on track! It is only 5 months to the big day now!
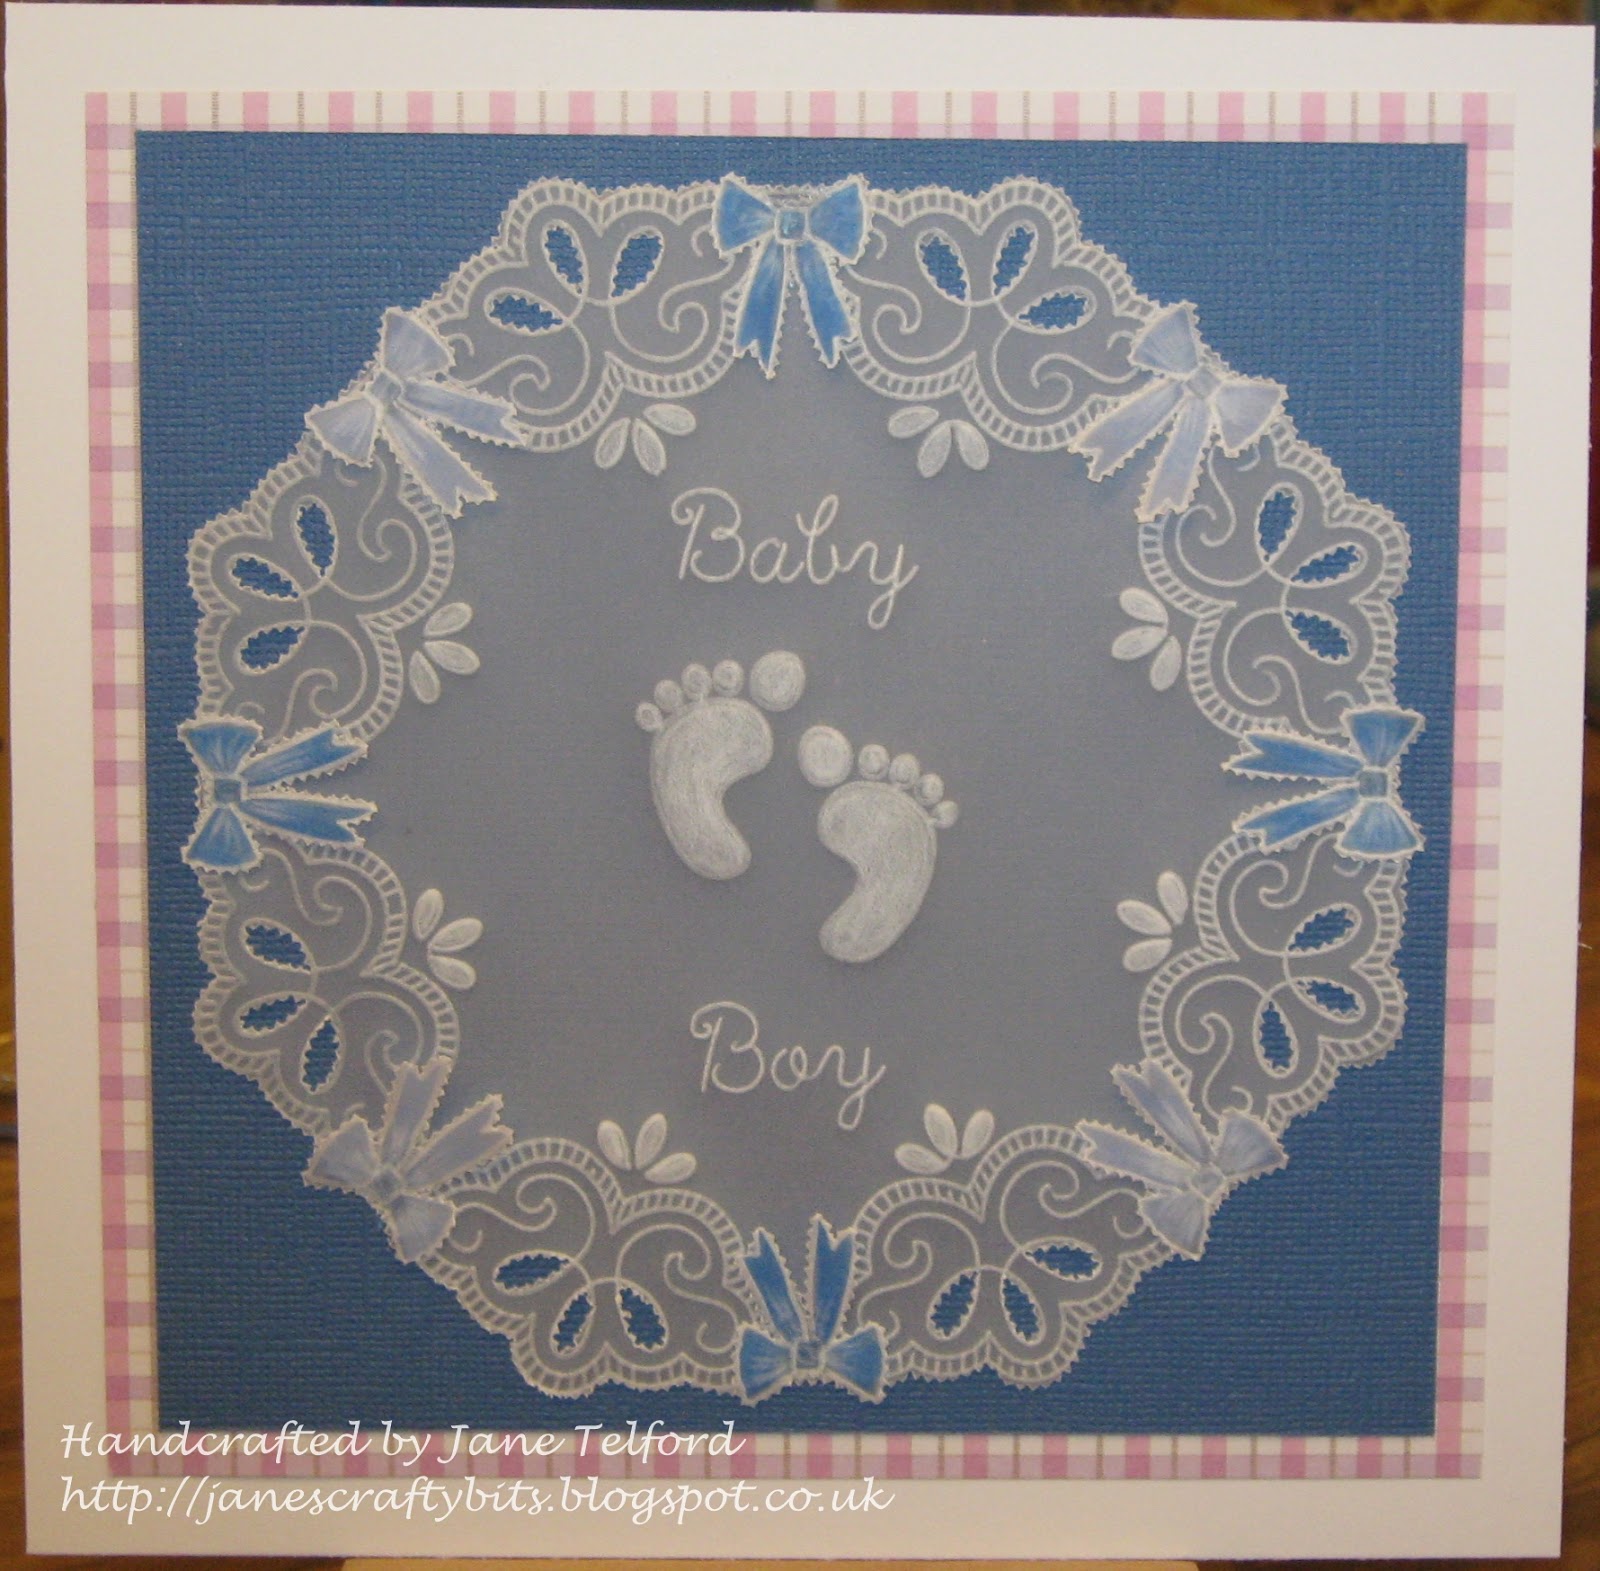
I keep on getting asked how I do the circular border using the lace corner border plate so instead of words I will show you!
The border I mean is on this card!

I hope you can follow the pictures below to get how I do it!
 |
| Use the nested octagon as a guide |
 |
| Choose the corner you want |
 |
| Position the corner over the octagon and attach your parchment. It is better if you use a lightwave to do this as you can see it better. Emboss it. |
 |
| Move corner plate to the next corner of the octagon keeping the parchment still and emboss the next corner. It is important that you don't move the parchment as it won't meet up if you do! |
 |
| Repeat until you have 8 corners done. |

 |
| Use the octagonal plate to join the gaps |

Here are a couple of other cards I have made using the same corner and technique. It is amazing how this border works well for so many occasions.

I hope that has helped those who want to have a go at this!
Happy Crafting

Most certainly a great help Jane thank you xx
ReplyDeleteWow, you make it look so easy Jane. That is my task for today once my housework is finished as I have a couple of special cards to make for next month!! Fabulous cards, love the baby one, another one I have to make pretty soon so might just get ahead with that one and leave off the colour and gender until the little one arrives. Thanks for this, such a help. Xx
ReplyDeletethat's fantastic Jane, thanks for sharing the pictures as it makes it so clear as what has to be done to achieve a complete border.
ReplyDeleteI agree with the other ladies, you've explained it brilliantly.
ReplyDeleteThank you Jayne x
Thanks Jane that is really clear to follow.
ReplyDeleteWonderful tutorial Jane. Will have to give this a try. Hugs from Canada 🇨🇦
ReplyDeleteSo beautiful and very helpful. Xxx
ReplyDeleteYrhats fab! Thanks fir showing us how to do the Jane. Wxx
ReplyDeleteOoh that’s lovely! I do love pattern building with Groovi xxx
ReplyDeleteThank you Jane that's a brilliant step by step. X
ReplyDeleteFab card Jane. Lovely that you’ve done a tutorial for this design for everyone to follow if they wish.
ReplyDeleteThanks for showing this ... I had been wondering if I needed that plate and now I know I do LOL
ReplyDeleteBeautiful. Great idea using the octagon plate it fits perfectly. Thanks for sharing and glad you had a good shopping day. X X
ReplyDeletegreat technic , thanks for sharing it . I can tell you where a card maker before a parcher , like me , from the use of patern card etc. All the cards are beautiful but the last one made me gasp ...wow
ReplyDeleteLovely idea, Jane - loved the combo with Jayne's Agapanthus, one of my favourite go-to plates. I can see the lace corners being used for a range of options now... you've started something! Thank you x
ReplyDelete